


Tell me if this sounds familiar: You just moved in or are looking for a new home, you started shopping around online, you made Pinterest & Houzz inspiration boards, you bookmarked all your favorite items, you watched reruns of HGTV shows, you took notes from a YouTube video on how to DIY everything, and you have been stock piling coupons for Bed Bath and Beyond like nobody's business. You did the research and you gathered inspiration but where do you start? I’m here to tell you how in this blog post!
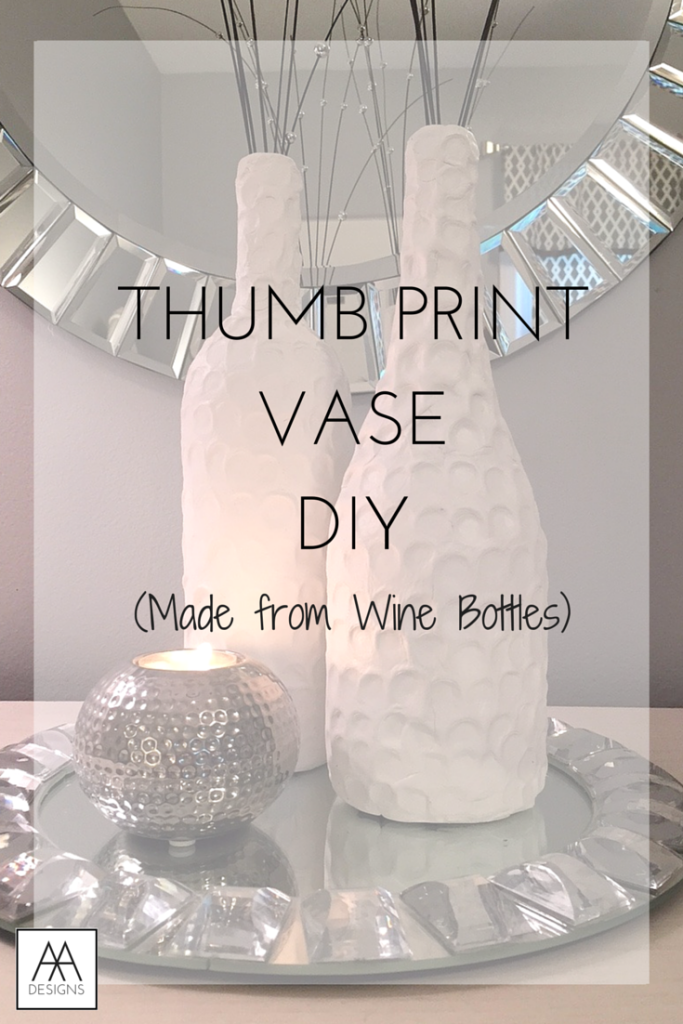
DIY Thumb Print Vase
Hello everyone! It's been a while since I have posted a DIY. I have been busy creating drawings and paintings, but I haven't actually made a "craft" in a while that I could share with you.
I wanted to create a bottle that had an all-year round design, texture, and that was sculptural. So I have created a vase that I have wrapped in Air-Dry Clay that I purchased from Michaels with a coupon. Woot woot!
For this Tutorial you will Need:
- A Wine Bottle or Canister of your Choice
- Air Dry Clay (I used White so I could spray paint it if I wanted to)
- A rolling Pin
- Exact-o Knife
- Thumbs ;)
Step-by-Step Tutorial
Step 1: Select bottle
Step 2: Clean Bottles and take off labels with Hot soapy water
Step 3: Roll out Air-dry clay into a big rectangle (easier to work with). Roll out thin
Step 4: Wrap clay covering as much of the bottle as possible
Step 5: Cut off Excess clay with Exact-o Knife
Step 6: Use Excess clay to cover top of bottle
Step 7: Blend in creases with your fingers the best you can by using a rubbing or patting motion. I also rolled it on the table to even out the clay.
Step 8: Take your thumb and apply pressure to the clay to make rows of thumb prints starting at the bottom until you reach the top.
Step 9: Let clay air-dry for 24-48 hours (varies upon thickness)
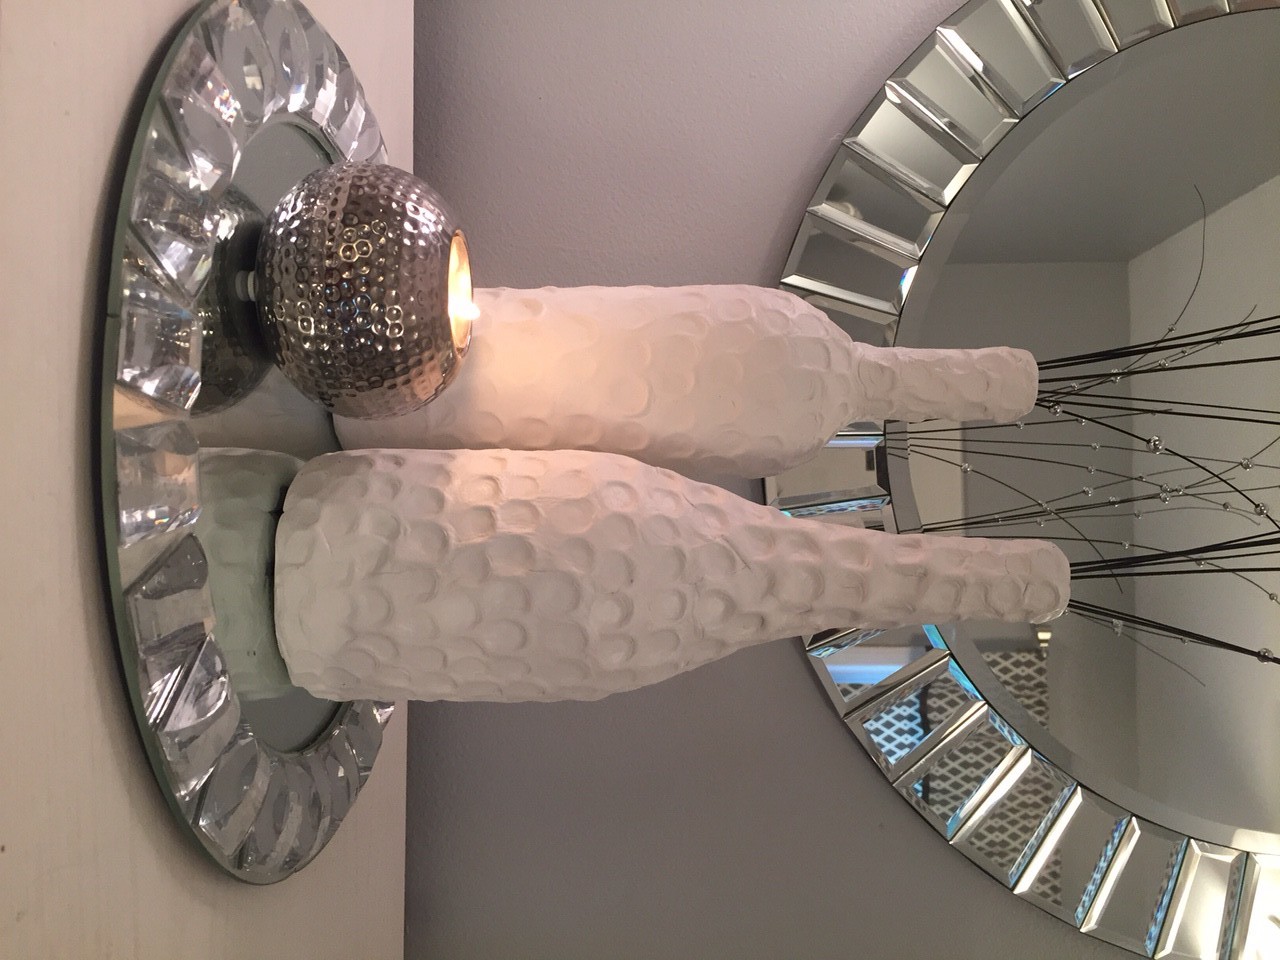
Step 10: Spray paint bottle in the color of your choice and/or add branches/flowers for decoration
Here is the finished result!
Want more design tips? Join "The Designed Life" monthly e-magazine, filled with tons of inspiration for the home and life. Also, receive a free Home Design Checklist to make your next shopping trip for your home easier.
Revive Old Planters with this Simple DIY!
'Tis the season to be sneezin' .. This Spring has got me suffering with allergies. Regardless, I am still spending time outdoors and finishing up outdoor chores before summer BBQ's start. Last weekend during Mother's Day, my mom and I went to pick out new flowers for outside (Mother knows best). As we prepare to plant the new flowers, I realized that our flower pots needed a major revival. It was only necessary that I stop everything I was doing and run to grab all my painting supplies.
Here is a Quick Step-by-Step Tutorial to Revive your Outdoor Planters:
For this project you will need:
A tarp to cover the ground, Paint of your choice (Either Spray paint or Acrylic), a ceramic or plastic pot, protective spray coat (optional), stencil (optional)
1. Wash & Scrub existing planter. It is important that you have a clean slate to work on. Wash away dirt and sometimes spider webs hidden under the lip of the planter (gross)
2. Place tarp down to protect the floor and ground around you.
3. Paint the body of your planter with two coats of paint in the color of your choice. You can leave it solid and stop here or use this color as a background color and move on to the next step.
4. (Optional) Apply a Stencil or tape out stripes or a design of your choice. Color in your stencil with paint.
5. (Optional) After the paint has dried, add a protective top coat.
Here is the final result. I may go back in and add a design to the Cobalt blue pot. I am thinking of a Chinoiserie pattern because I am loving Blue & White right now. If you haven't been following me, check out my post from two weeks ago, "Chinoiserie Chic Decor".

 I also painted a few solid yellow pots to coordinate with the sunflower stenciled pots which aren't photographed because I am waiting for my plants to grow. I didn't want to show you a pot of dirt :) I'll share the growth on Instagram @byamadesigns.
Here are some other Pinterest-worthy designs that I would like to attempt in the future.

(Photo via In my Own Style)

(Photo via Centsational Girl)
Gardening is not my forte. What are some of your favorite outdoor plants and flowers? Share your favorites (especially flowers deer & other animals won't eat). I would love to know!
I hope you enjoyed this post. If you love this post, share it with your friends and pin it to Pinterest to come back this craft idea later.
Hope your day is as awesome as you are! :)
Want more design tips? Join "The Designed Life" monthly e-magazine, filled with tons of inspiration for the home and life. Also, receive a free Home Design Checklist to make your next shopping trip for your home easier.
Design Trend: Blue Hues in Home Decor
Boy oh boy, do I have the case of the blues (not the boo-hoo blues)!! Shades of blue were introduced at High Point Market this Spring. In the fashion industry, Pantone may have announced "Marsala" to be the fashion color of the year but blue is the color of the year in furniture, accessories, and home decor as well. Today I will be sharing my inspiration and home decor in bright blues that you can add to your home and reinvent your space.

If you follow me on Instagram, I shared my inspiration of a vignette with vibrant blue plantation shutters and moroccan tile around it. Pigmented blue hues ranging from royal to indigo to watery azure are trending for this season on the runway and in home decor.
Introduce shades of blue to any decorating palette in doses or as the main focus. Blue plays well off of primary colors such as yellow or red for a bold impact. Pair blue with orange for a energetic color combo. On the contrary, couple blue hues with purple or green for soothing and cool palette. Blue could also serve as an accent color when paired with neutrals like the room featured below.
 (Photo via 6th Street Design School)
Whether you choose to add vibrant blue tones in big way or subtle way, I have found a few options that will suit your decor needs. Here are some blue decor ideas that you can incorporate into your home.

1. Silk Pillow // 2. Cobalt Table Lamp // 3. Porcelain Chinoiserie Vase // 4. Indigo Scarf // 5. Tufted Sofa // 6. Botanical Watercolor Art // 7. Hall Chest // 8. Ikat Rug
Did you find something you liked? Pin this image to your Pinterest board so you can shop later. Are you following me on Pinterest? Let's be friends :)
http://pinterest.com/byamadesigns/
For current photos of my work and progress photos, follow AMA Designs on Facebook or Instagram.
Want more design tips? Join "The Designed Life" monthly e-magazine, filled with tons of inspiration for the home and life. Also, receive a free Home Design Checklist to make your next shopping trip for your home easier.
DIY Tutorial: Make a Drab Lamp Fab!
I have been crushing on a gold desk lamp for months. While I was cleaning out my basement, I found a white desk lamp that I was about to toss. Fireworks went off in my head and I suddenly had a bigger grin on my face than the Grinch before Christmas. My gold desk lamp wish is FINALLY coming true..

It was the perfect shaped lamp to spray gold. I dusted off the lamp and cleaned it up. I grabbed all my old newspapers and ran outside. I eagerly sprayed the lamp with Gold Metallic Rustoleum Spray paint. After 15 minutes, and two coats of spray paint later... my gold lamp was complete !!


CALL TO ACTION
- What do you think of the finished result?
- What have you been crushing on lately?
- If you can't buy it, can you DIY it?
- What fun DIY projects are you working on?
COMMENT BELOW! I would love to hear from you. :)
Can't get enough of DIY? Follow me on Pinterest for more ideas.
http://www.pinterest.com/byamadesigns/
My New Work Space & Tutorial!
I recently created an extra work space for myself specifically for crafting. I used to work on the dining room table with newspapers protecting the table which probably was not the best environment for me. My new work space is still in the works but I wanted to share with you what I have made so far and my ideas for the space. Since my new work space is located in the basement, it lacks creative inspiration and windows. To create a sense of natural light, I switched out the lightbulbs to the "natural light" bulbs. This provides better lighting for when I am trying to match colors with fabrics plus it makes the space feel as if I had windows open.
 To create inspiration, I made a very large pin board to hang motivational quotes, places I want to visit, and design trends that I am loving right now. The BEST part about making my pin board is that I used leftover items around my office and it was SUPER EASY.
Here's how I did it:
MATERIALS: Foam board, fabric, ribbon, a hot glue gun, razor blade, scissor, ruler, and a hot glue gun.
STEP 1: Draw Stencil
Prepare to begin cutting your foam board. First, using a ruler and a pencil, trace the size and shape you would like to create. For my project, I created a 30" x 30" square.
STEP 2: Cut Board
After you have stenciled on the foam board the size you want, it is time to cut your foam board. I used a ruler as a guide and ran my razor blade along the ruler to create a perfect edge. You may need to go over it a few times to cut through all the layers of the foam board. PLEASE be very careful and take your time. I have cut myself before and it is NOT fun. If you can't do it, please find someone to assist you.
STEP 3: Apply Fabric
Apply your fabric (worry about trimming later). For my project, I actually used leftover wallpaper but feel free to use whatever material that you wish. If you are creating a small pin board, you could even use scrapbook paper. To apply the material, I evenly lined up my wallpaper to the edge of the board and applied hot glue along the outside edges.
STEP 4: Trim Fabric
After your material is applied and secure, I flipped over my board and used a razor blade to trim the excess material. If you aren't comfortable with the razor blade, you may use scissors. I particularly like using the razor because it is more precise.
STEP 5: Add Ribbon
YOU'RE ALMOST DONE!!! I added a ribbon along the edge of my board to create a more finished look. If you want to take it a step further, you can create a lattice pattern with the ribbon in which you can use to secure pictures and notes.
STEP 6: Apply Command Adhesive Strips
In order to hang my pin board and without adding holes to my wall. I added Command Adhesive Strips to the back of my pin board. Peel the paper off the back of the strips and TAAA-DAAA you are ready to apply to the wall.

I also made these helpful reminder clips using clothes pins that I purchased from the dollar store. I painted the clothes pins to match my board and then added word art.
I hope you enjoy creating your own inspiration pin boards! Please share your designs on Instagram and tag me @ama.designs in your post. I would LOVE to see how your pin board came out! :)
Hope your day is as AMAZING as you are!!
Much love,
AMA Designs